How To Deploy Python App To Google App Engine

Google App Engine is a fully managed, serverless platform for developing and hosting web applications at scale on Google Cloud. With App Engine, you can scale your applications from zero to planet-scale without having to manage infrastructure.
As a developer, you only have to worry about writing the underlying code that powers your application and then let the App Engine take care of provisioning servers and scaling your app instances based on demand. You can choose from several popular languages including Python, Go, PHP, Java, Node.js, .NET, and more.
Google App Engine Pricing
Google App Engine is free up to a certain amount of resource usage. Users exceeding the per-day or per-minute usage rates for CPU resources, storage, number of API calls or requests, and concurrent requests can pay for more of these resources.
There are no costs associated with running this tutorial because deploying this sample app alone does not exceed your free quota.
Deploy Python App to App Engine
For the sake of this tutorial, we are going to be working mostly with Google SDK via Cloud Shell. Cloud Shell makes it easy for you to manage your Cloud Platform Console projects and resources without having to install the Google Cloud SDK and other tools on your system.
Step 1: Create GCP Project
Google Cloud projects form the basis for creating, enabling and using all Google Cloud services. When working with App Engine, it is a recommended practice to deploy each application to a different GCP project.
gcloud projects create [YOUR_PROJECT_ID] --set-as-default
[YOUR_PROJECT_ID] should be a string of characters that uniquely identifies your project. Project IDs are immutable and can be set only during project creation. They must start with a lowercase letter and can have lowercase ASCII letters, digits, or hyphens. Project IDs must be between 6 and 30 characters.
Billing must be enabled to be able to deploy apps. Use the gcloud command below to enable billing for your created project.
gcloud beta billing projects link [MY-PROJECT-ID] --billing-account [MY-ACCOUNT-ID]
Note: All further actions should be performed in the new project and not anywhere else.
Step 2: Initialize App Engine application
Before deploying the application, you need to initialize App Engine for your project, using this command:
gcloud app create --project=[YOUR_PROJECT_ID]
When prompted, select the regional location where you want your App Engine application to be deployed by inputting the corresponding number to your preferred region in the cloud shell. Note that the app's region can not be changed in the future. Generally, select the region nearest to your app's users, but also consider the location of the other Google Cloud products and services (e.g. Cloud Storage bucket) that your app uses.
To check if an App Engine application exists in your Cloud project, you can run the gcloud app describe command.
Step 3: Download the application code
The source code of the application that was deployed in this tutorial can be found in this GitHub repo. To deploy the app, you need to clone the application source code from the Github to the VM powering Cloud Shell using the git clone command.
git clone https://github.com/Kamparia/google-app-engine-sample.git
Once the source repository has been cloned to the VM, navigate to the root folder that contains the source code of the application.
cd ./google-app-engine-sample
As a final step before deploying to App Engine, you need to enable Cloud Build API. The API is used to package our source code and create a container based on the metadata in the app.yaml and requirements.txt files.
gcloud services enable cloudbuild.googleapis.com
Step 4: Deploy the code on App Engine
The cloned repository contains an app.yaml file which defines your configuration settings for your Python runtime as well as the general app, network, and other resource settings for your application.
Now that everything is set, you can now deploy the application using the magic command below;
gcloud app deploy
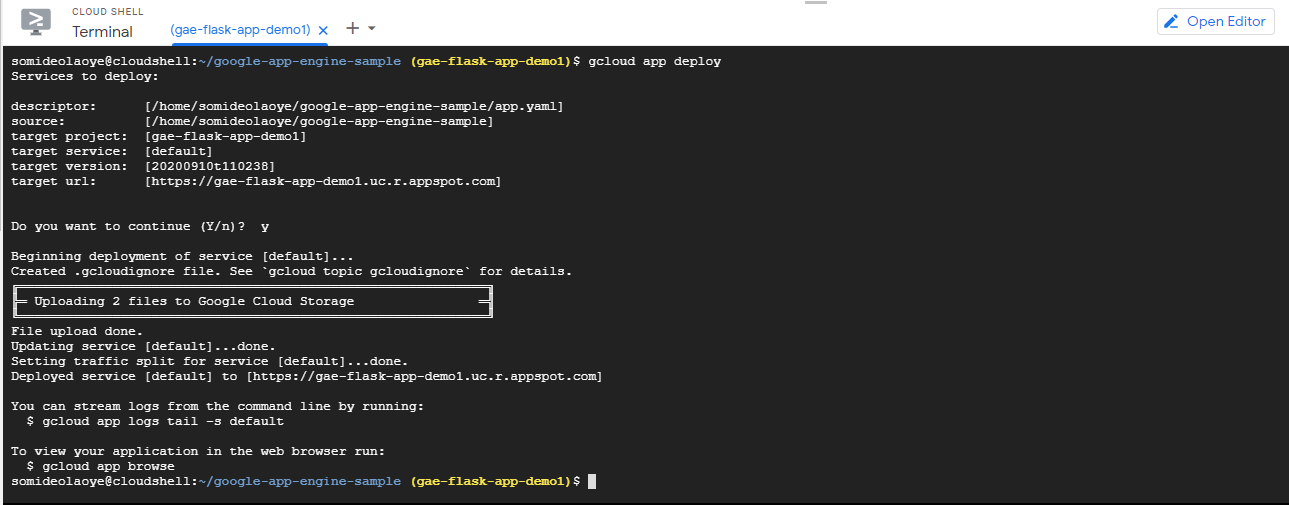
The command would deploy the sample app and its underlying dependencies to a Google App Engine Standard Environment. You can run your applications in App Engine using either the flexible environment or standard environment.
Step 5: Run the app in a web browser
Once the application is successfully deployed, you can view the deployed application in a web browser by using the below command.
gcloud app browse
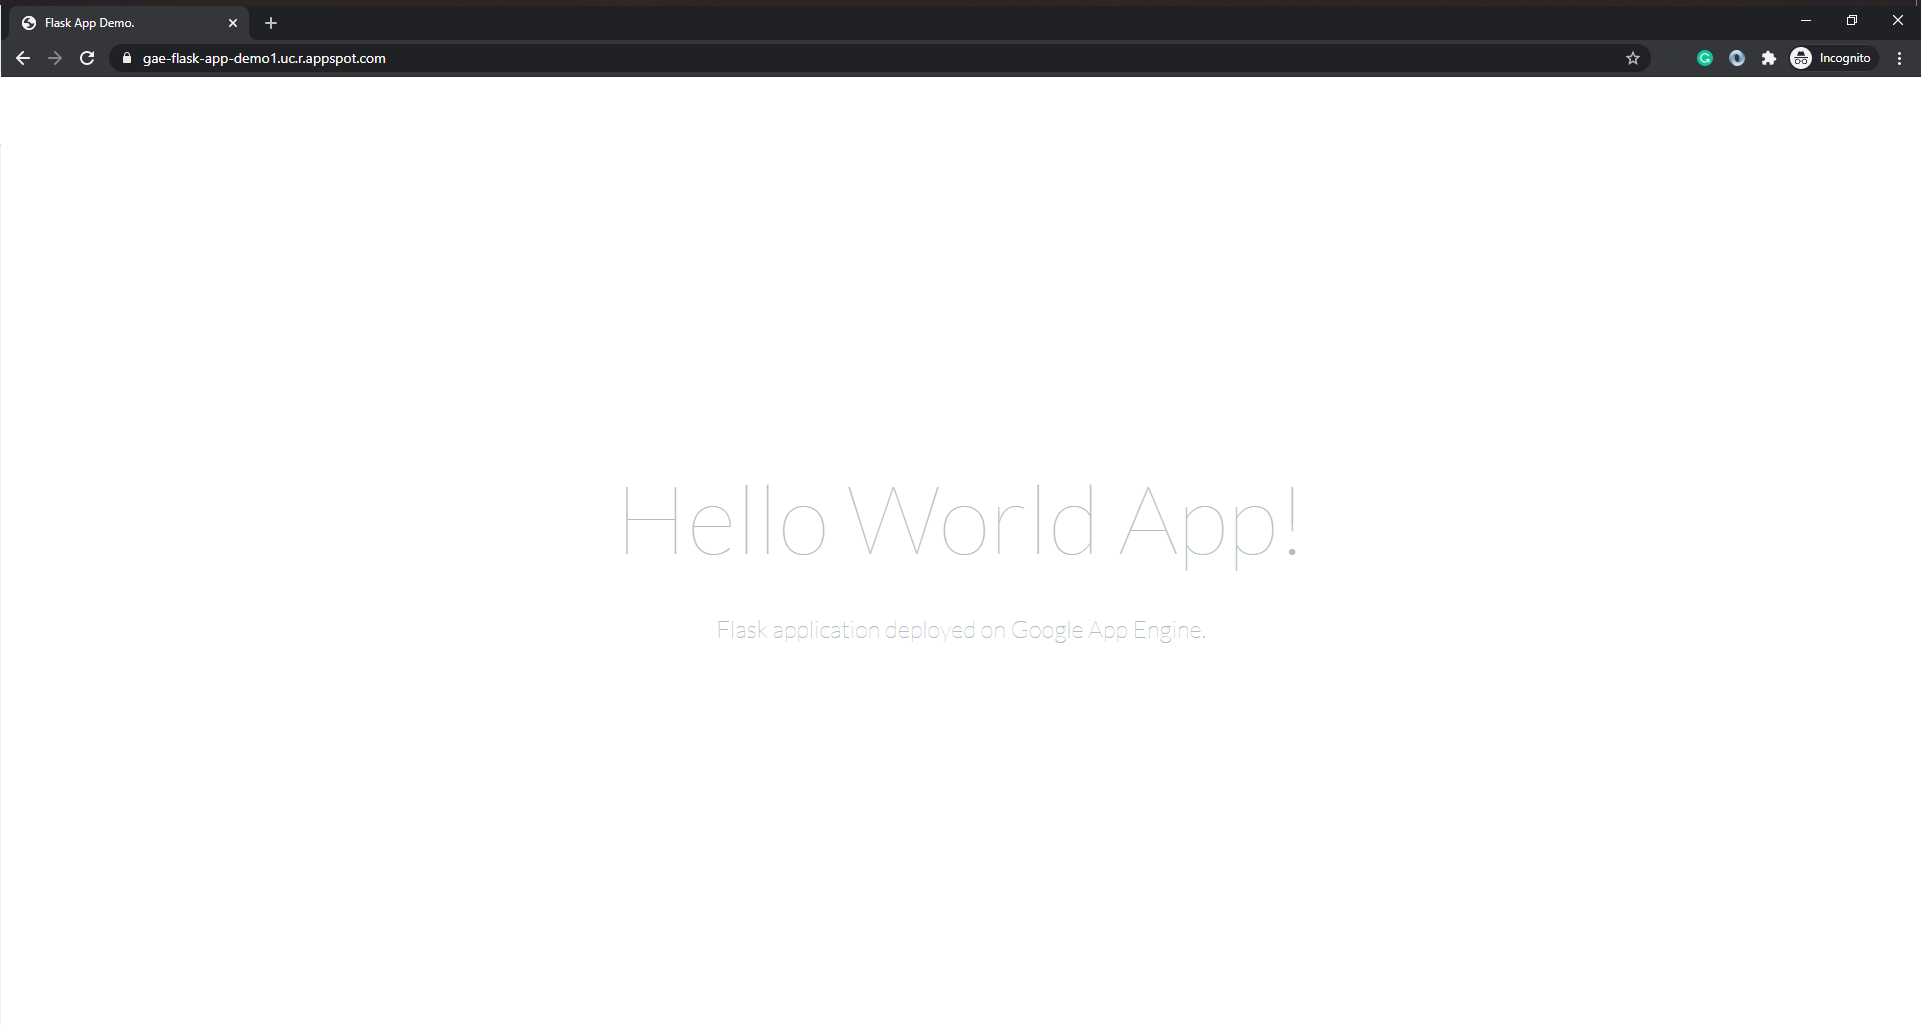
## deployed app url: https://[PROJECT_ID].[REGION_ID].r.appspot.com/
Kudos! You've deployed your first Python app to App Engine standard environment!
Step 6: Cleaning Up (optional)
If you don't intend to keep the application running after this tutorial, you can avoid incurring billing charges by deleting the GCP project that was created in Step 1 using the command below.
gcloud projects delete [YOUR_PROJECT_ID]
Conclusion
Please note that the procedure explained in this tutorial is applicable not just to Python apps but all the runtime environments supported by Google App Engine.