


FastAPI is a modern and fast Python web framework for building backend applications. FastAPI comes with support for API documentation powered by Swagger, security modules, and type checking to ensure correctness in code.
Why choose FastAPI over other Python web frameworks? FastAPI provides many new, valuable, and convenient features.
- Speed: When it comes to speed, FastAPI outperforms its other competitors like Flask and Django. In fact, its speed is on par with Node.js and Go.
- Asynchronous Code: Nowadays, we see a rising need for asynchronous tasks like waiting, queuing, WebSockets, etc. The async feature of FastAPI makes it easy to develop asynchronous apps natively.
- API Documentation: Writing documentation by hand is another boring, error-prone, and time-consuming duty. With FastAPI, a documentation page is automatically generated for you.
A. Building a Geocoder API
As a quick introduction to showcase how to develop applications with FastAPI, we will be building a simple Geocoding API service. This Geocoding API service would be able to convert given geographic coordinates (latitude & longitude) to a readable physical address (reverse geocoding) and vice versa.
Each of the 3 functionalities of our API would its own endpoint that can be accessed with an HTTP GET request.
- Forward Gecoding: The
/forwardendpoint would return the latitude and longitude of a given physical address. - Reverse Geocoding: The
/reverseendpoint would return the physical address of a given latitude and longitude coordinates. - Geocode IP Address: The
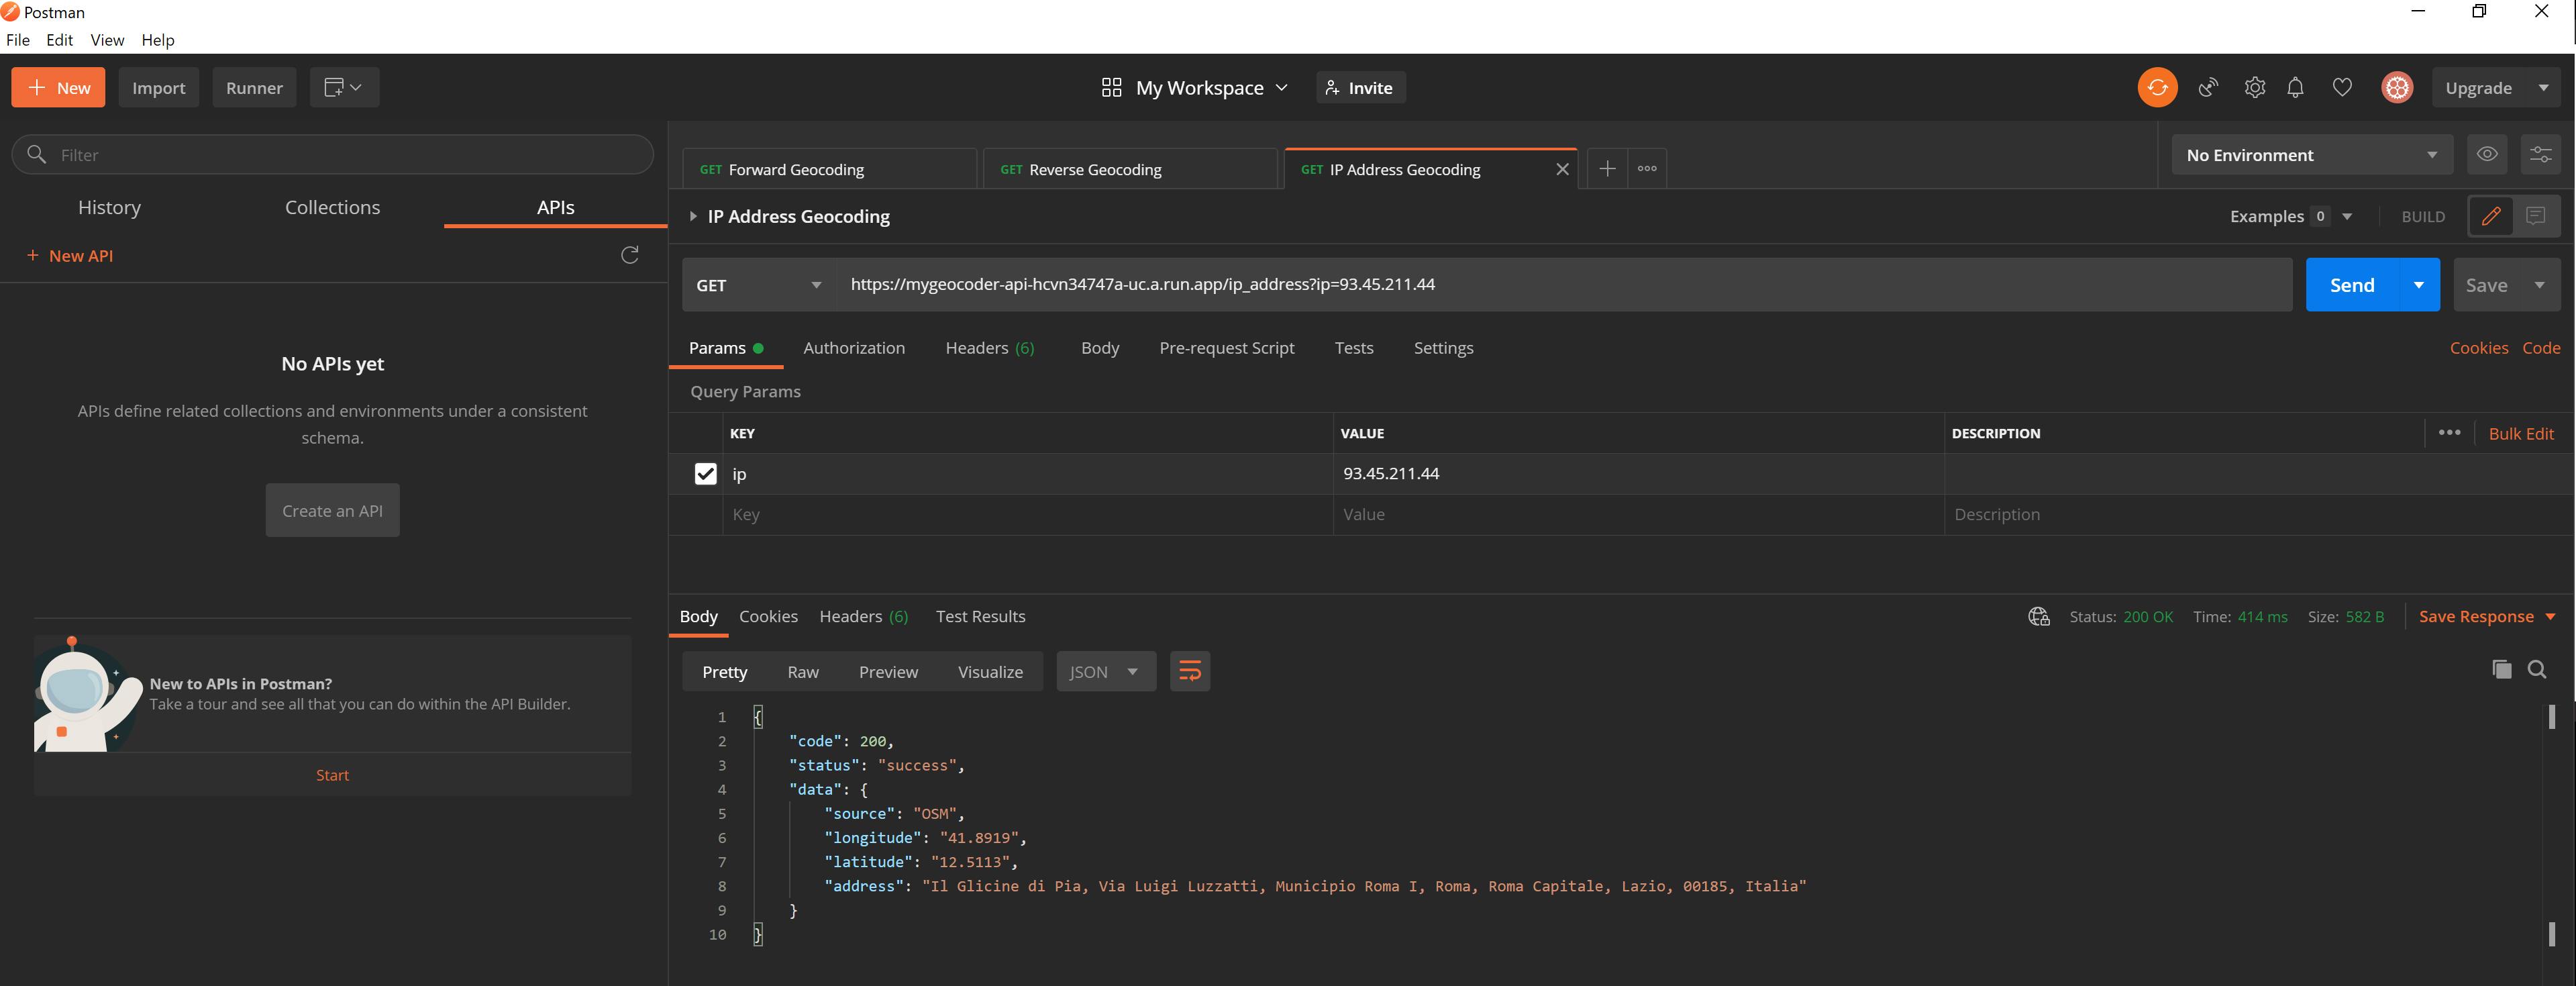
/ip_addressendpoint would return both the physical address and geographical coordinates of an IP address.
1. Setting up FastAPI
The first step to building with FastAPI is to install the library on our local machine. Running the command below in a Python virtual environment will install FastAPI with all the optional dependencies and features.
# install fastapi
pip install fastapi[all]

# install uvicorn server
pip install uvicorn[standard]
2. Developing the App
Developing an app with FastAPI is easy and straight forward especially if you are already familiar with other Python web frameworks such as Flask and Django. Also, the FastAPI documentation page provides detailed insights into every feature and functionality of the framework. We start writing our script by using the simplest FastAPI example that is shown below.
from fastapi import FastAPI

app = FastAPI()

@app.get("/")
async def root():
    return {"message": "Hello World"}
This would serve as the foundation upon which we will write other functions and methods that are required by our Geocoder API application. The final version of our main.py script with the 3 functionalities that we have described above can be found on Github here.
3. Running App locally
FastAPI is powered by Uvicorn a lightning-fast ASGI server implementation that uses uvloop and httptools.
You run the FastAPI app by using the below command. Once the server is up and running you don't need to reload it after making new changes as it automatically picks up the newly saved changes to our Python script.
# run the live server
uvicorn main:app --reload
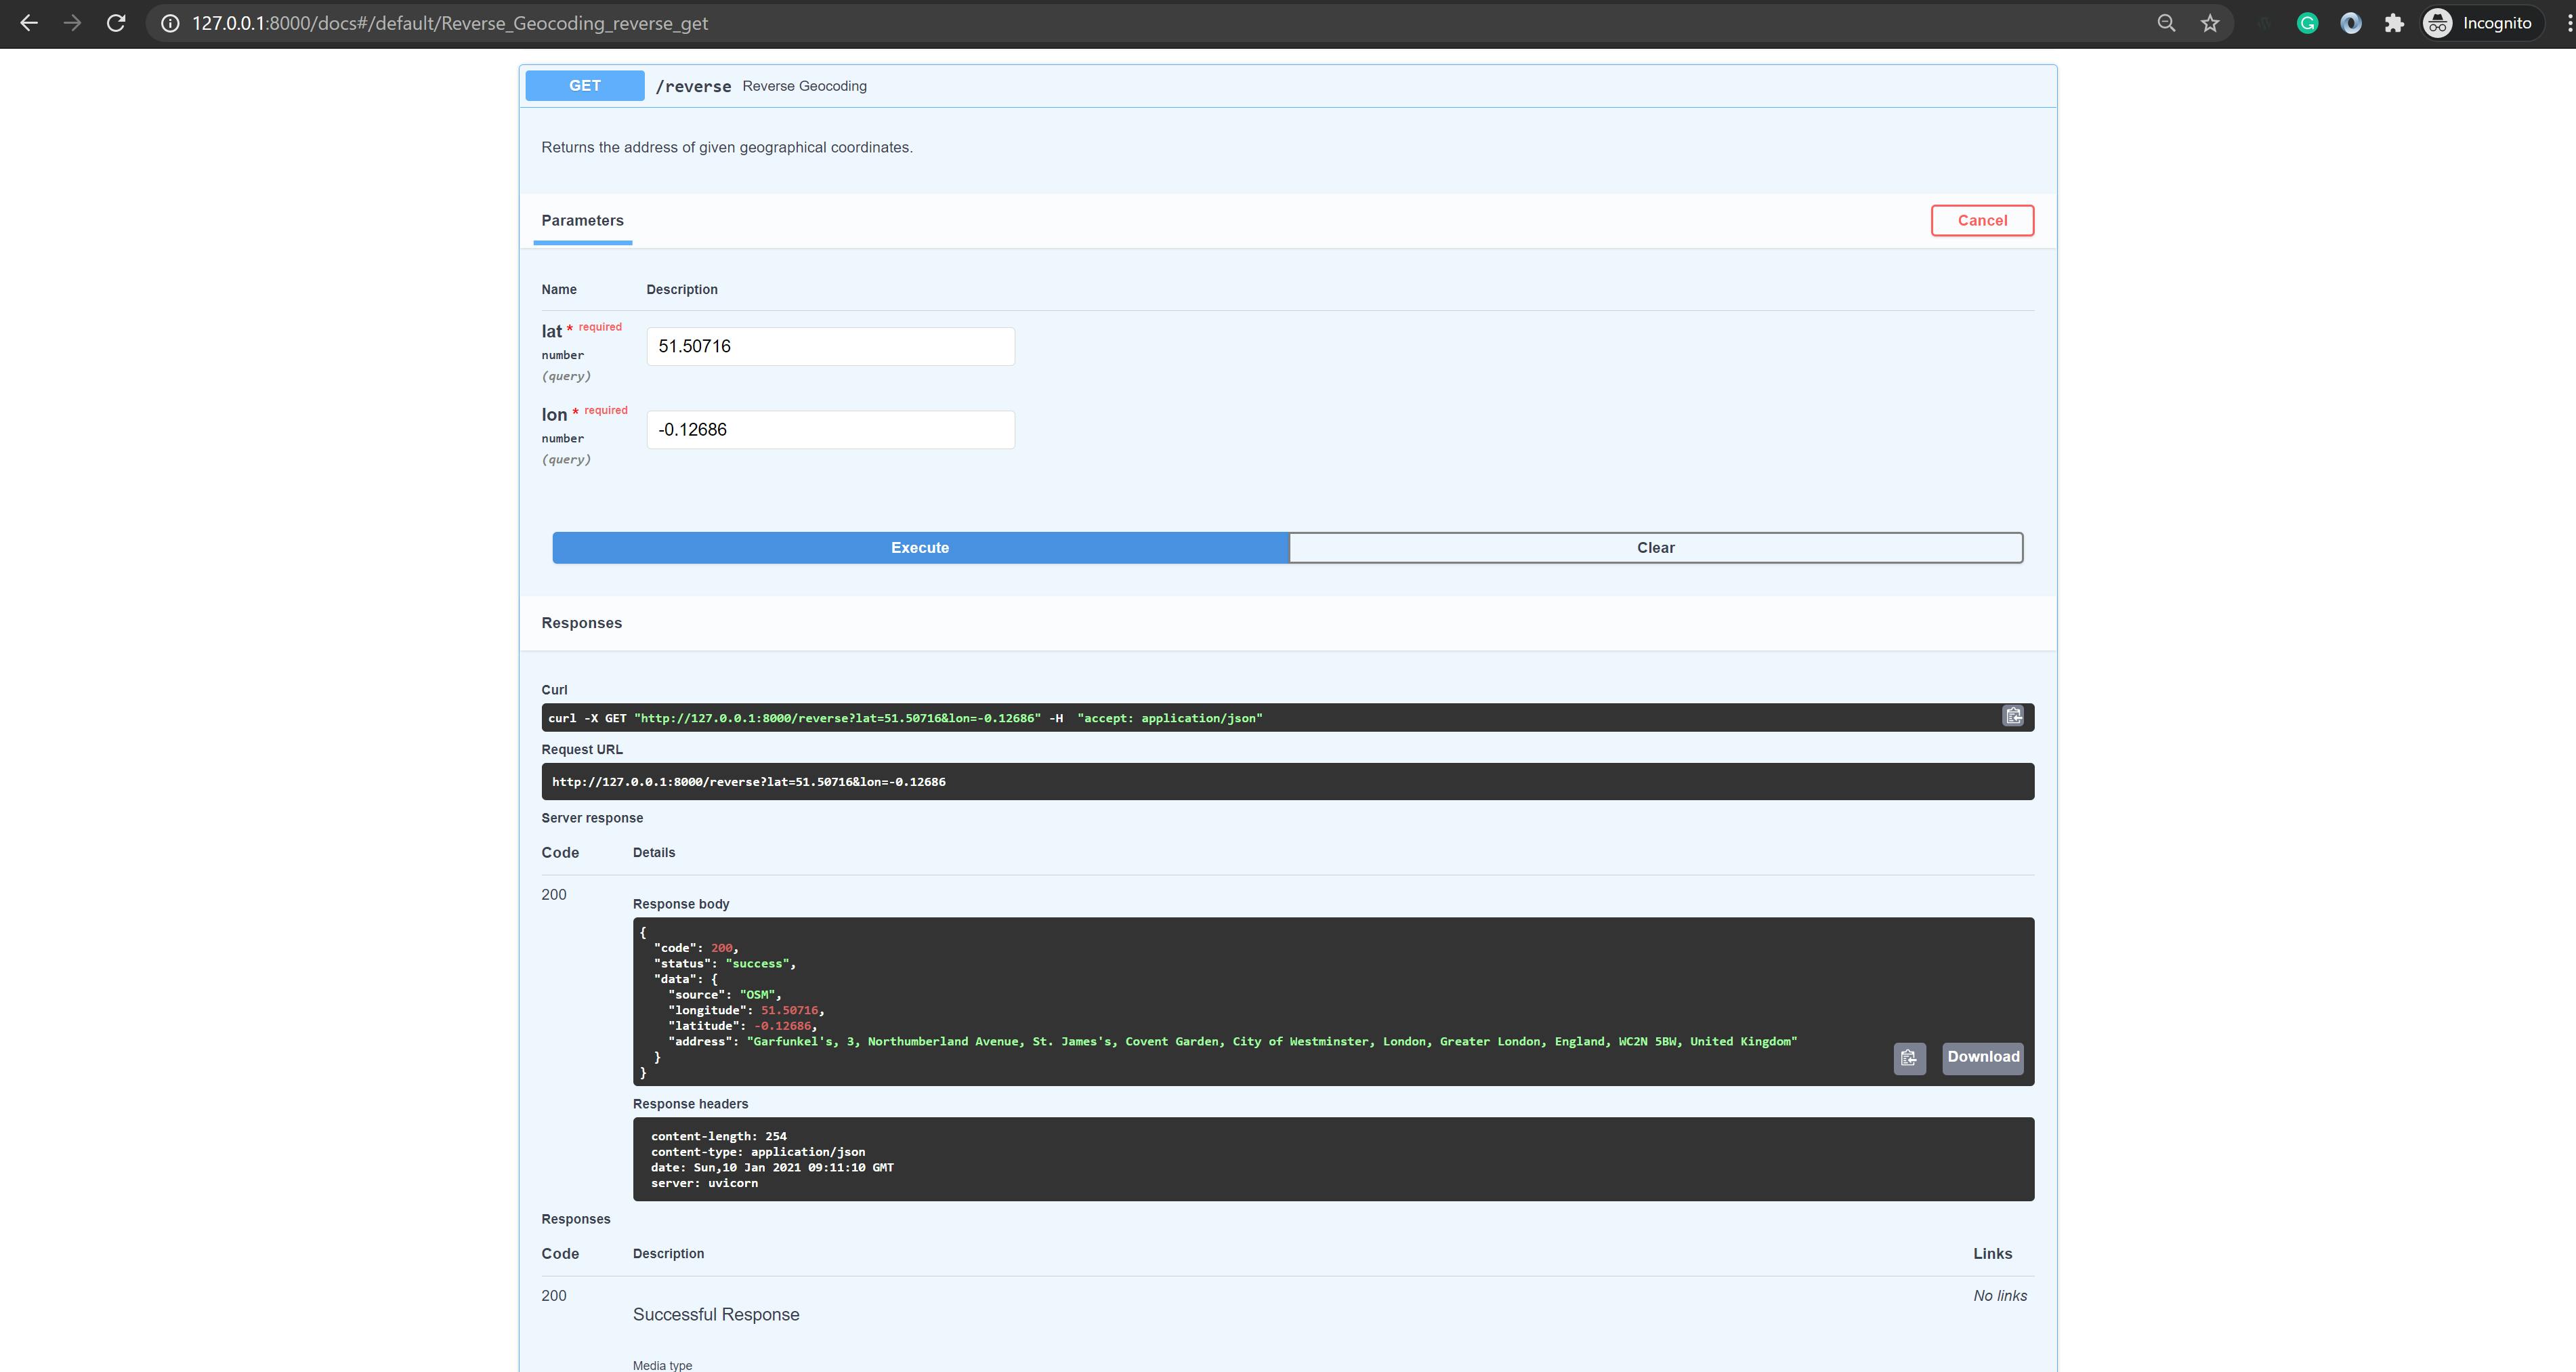
Now that the server is running locally, we can see in the image below the auto-generated documentation page that comes with our FastAPI application.

In the image below, we tested the reverse geocoding endpoint of our API to ensure that it runs as expected.
B. Deploy to Cloud Run
Google Cloud Run is a fully-managed compute platform for deploying and scaling stateless containerized applications quickly and securely. It's serverless which means you don't have to manage any infrastructure. Also with Cloud Run, you only pay for what you use.
To deploy our Geocoder API Service application to Cloud Run, we need to containerize the application using Docker. This process would give us a container image that can easily be deployed to Cloud Run.
1. Creating a DockerFile
The first step to containerizing our application is to create a Dockerfile in our source code directory.
The Dockerfile contains a set of instructions (commands) needed to create a container image. As shown in the code below, our Dockerfile contains step-by-step instructions for running the application in a containerized environment.
2. Build a Container Image
A container (docker) image is a lightweight, standalone, executable package of software that includes everything needed to run an application: code, runtime, system tools, system libraries, and settings.
Ideally, we can use the docker build command to build an image from our Dockerfile, but because we intend to deploy the application to Google Cloud Platform, we need to use Cloud Build which is a dedicated service for building container images on GCP.
# retrieve project-id of active project
gcloud config get-value project

# build docker/container image
gcloud builds submit --tag gcr.io/{MY-PROJECT-ID}/mygeocoder
Executing the gcloud commands above on your local machine requires the installation of Google Cloud SDK. Further instructions on how to install and configure the SDK can be found here.
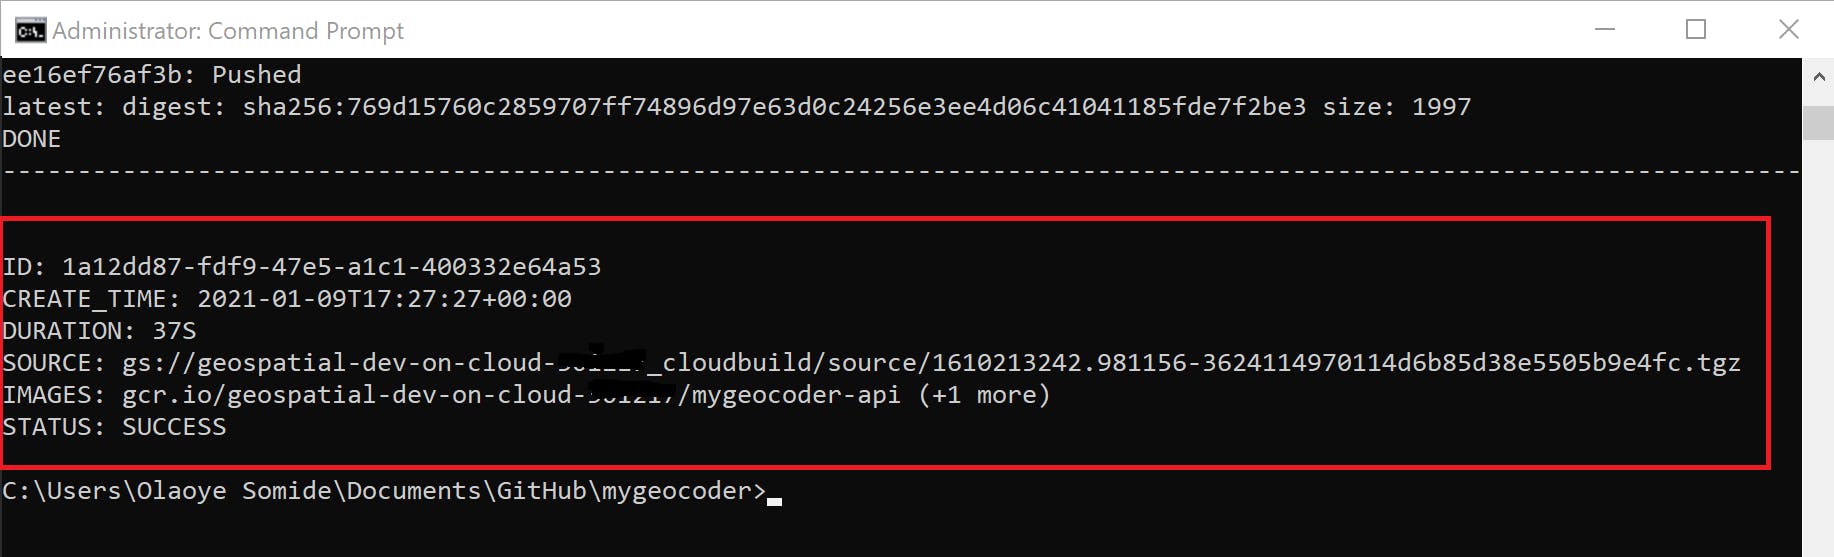
Upon completion of the build process, you would see a status message of SUCCESS and the container image URL gcr.io on Container Registry which is more like Docker Hub but for GCP.
3. Deploy the Container Image
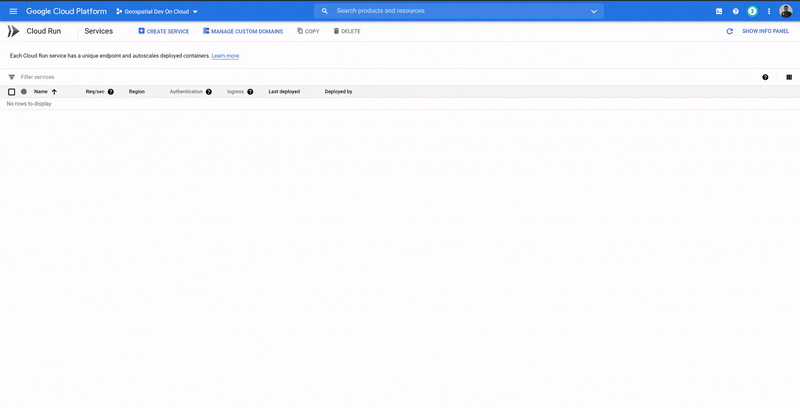
The final step is to deploy our serverless app on Cloud Run. To achieve this, we need to create a Cloud Run Service. The service would make use of our image on the Container Registry to deploy the application for us.
When the deployment is successful, Cloud Run would automatically generate a web URL that can be used to access the application. If needed, we can also map a custom domain with the Cloud Run service.
An alternative to deploying to Cloud Run with the web console is to use a gcloud command. The container URL is an output of our previous step where we built the container image and pushed it to the Container Registry.
# cloud run deploy
gcloud run deploy --image {MY-CONTAINER-URL} --platform managed
4. Testing our App
Since our application is a REST API service, the best tool for testing it out is to use Rest client tools such as Postman or Insomnia (personally I prefer to use Postman).
Conclusion
FastAPI is gaining a lot of popularity in the Python web framework ecosystem as its community continues to grow very fast. From my personal point of view, FastAPI is a better version of Flask, and if you are already familiar with developing solutions with Flask you should find it pretty easy to adopt FastAPI.
I hope that this article gave you the general idea of developing applications with FastAPI and deploying such apps to a serverless environment like Google Cloud Run.
The full source code for this project is available on GitHub.